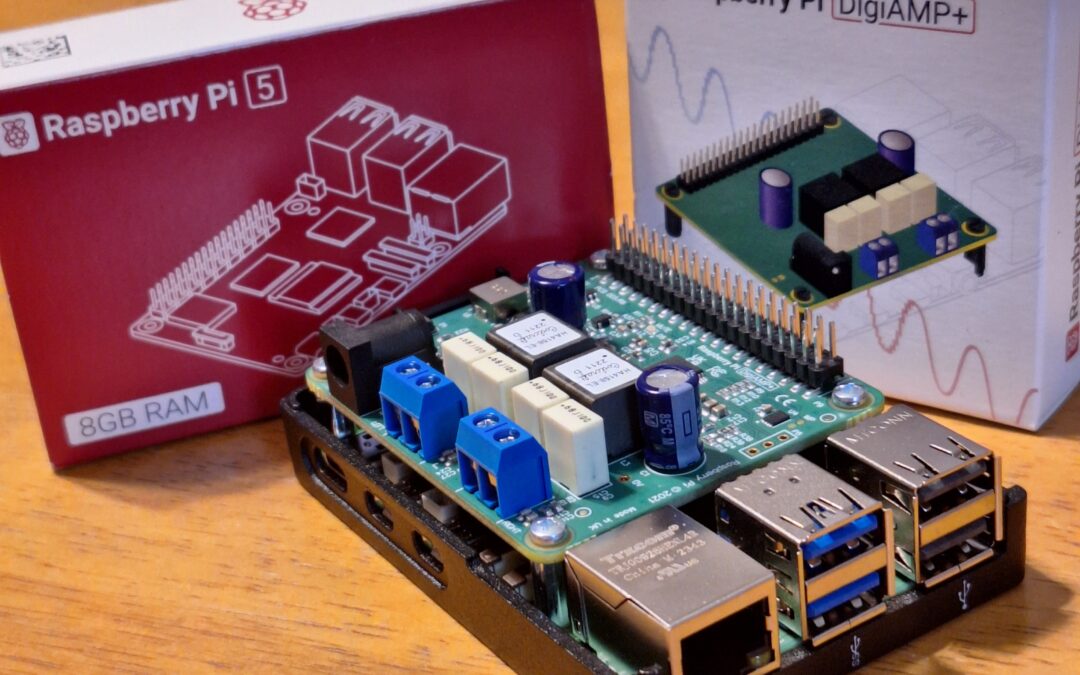
I received the AMP in the mail yesterday and got to install it tonight. The AMP for the audio is a separate piece called a HAT (hardware attached on top). On the above image you can see it attached to the top of the Raspberry Pi (rPi)
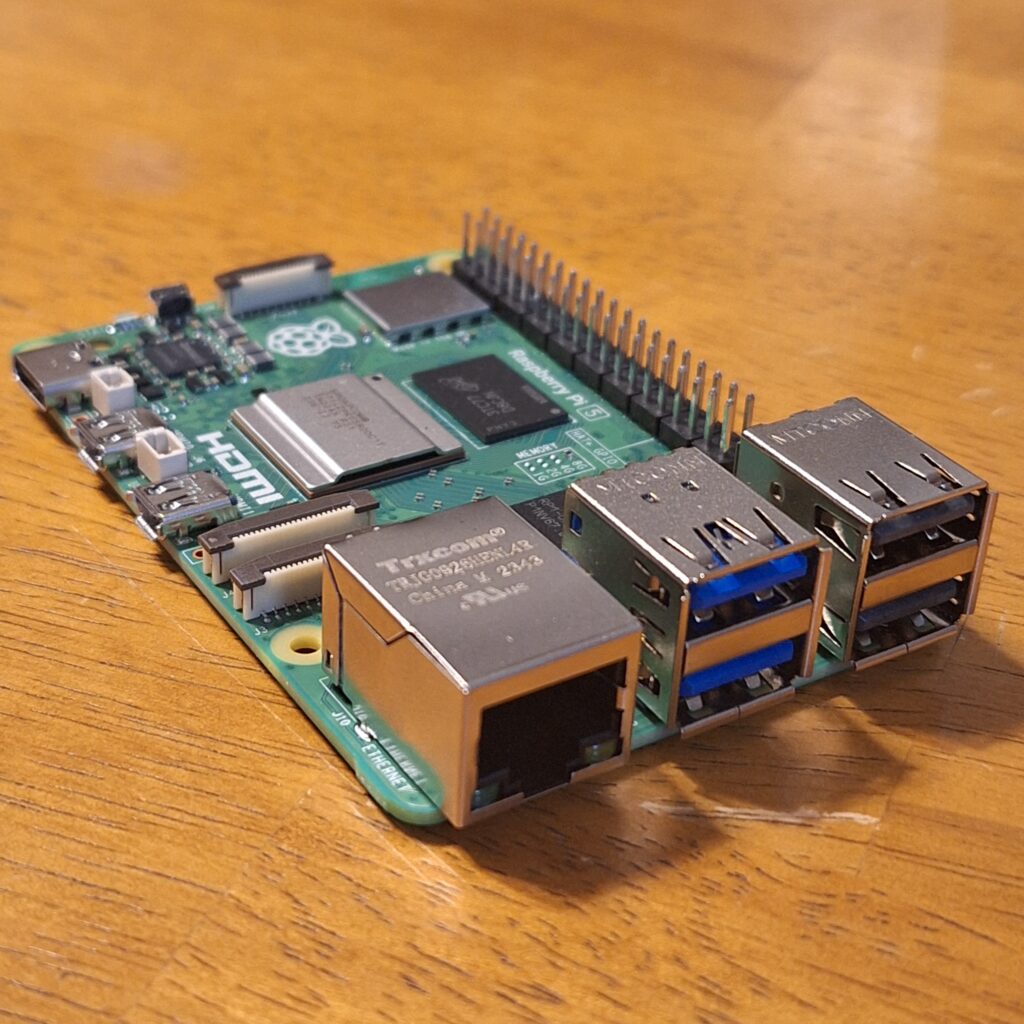
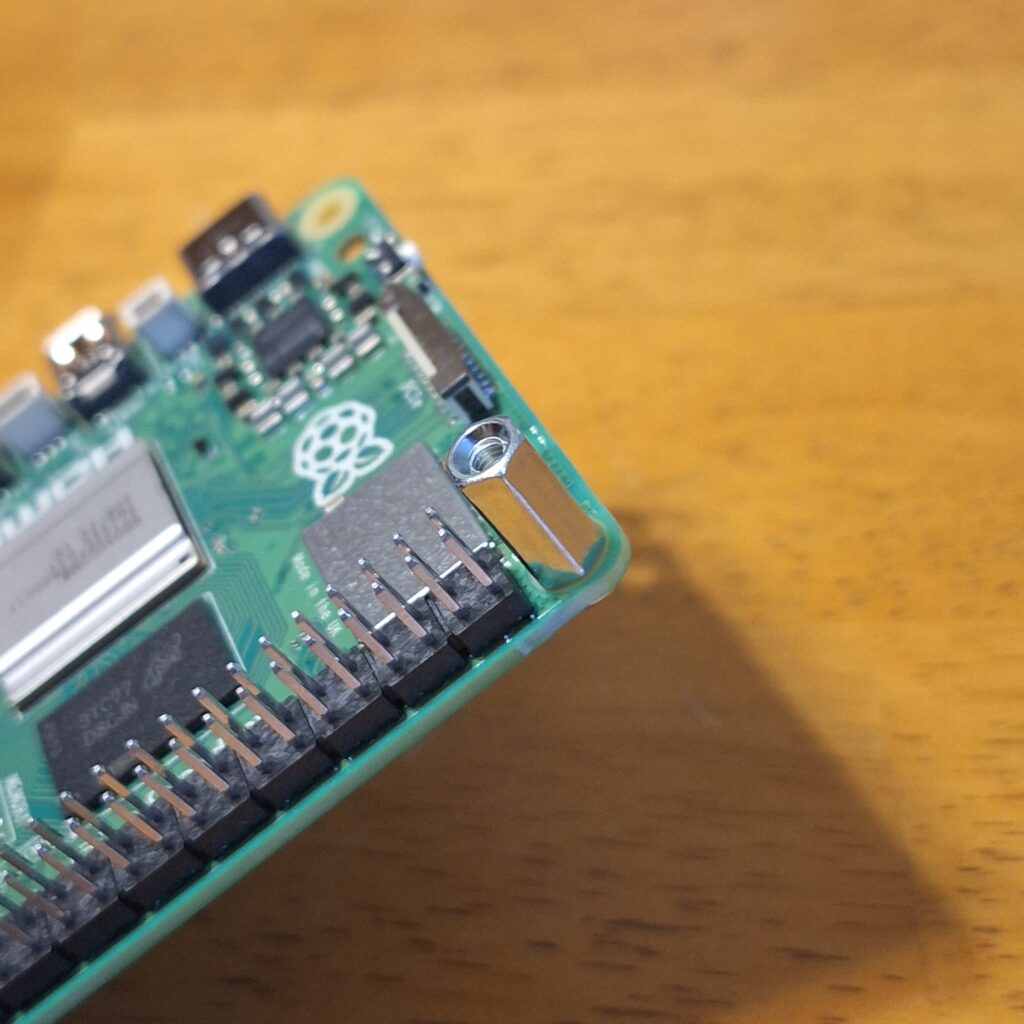
Pictured below is the rPi without the AMP installed. The AMP installs on top of the rPi easily by first placing pillars in the four corner holes. Then the AMP will be placed directly on top, plugging into the pins.


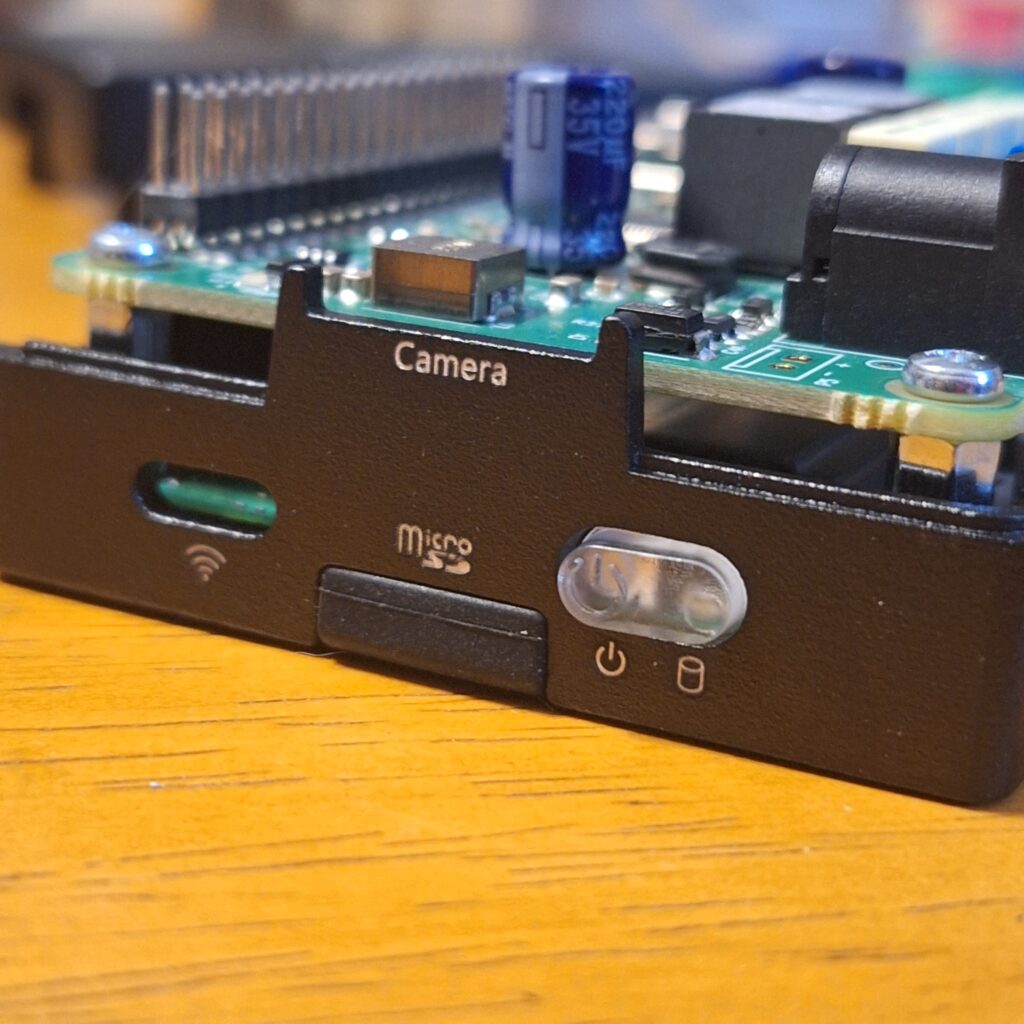
The rPi came with a basic case to place it in. This case can be closed or by use of tiny pillars you can have the top portion of the case hover over the top, called an “open install”. This would allow for more space and airflow to the rPi. BUT, the case wasn’t made for a rPi and a HAT. So, I can only use the bottom portion of the case. That’s ok. I don’t think it will be an issue.


Soooooooo I forgot to install the little clear power button. I had to take out the four screws, install it, then replace the screws. No big deal. Good to go now!

Although I’d like to plug this in and start the next steps, but those steps will take some time and I’m ready for rest tonight. The next steps will be powering the rPi+AMP and finding software to run to audio files. Once that is determined then I’ll need some sort of script/code written to make it automatically start the random audio playing process. I might try to write it myself at first, if not I may try using AI to write some code for me (though I’m comfortable with code, it’s not my favorite thing) I suppose before the code I’ll need to hook up the new speaker for I can hear the music play.

