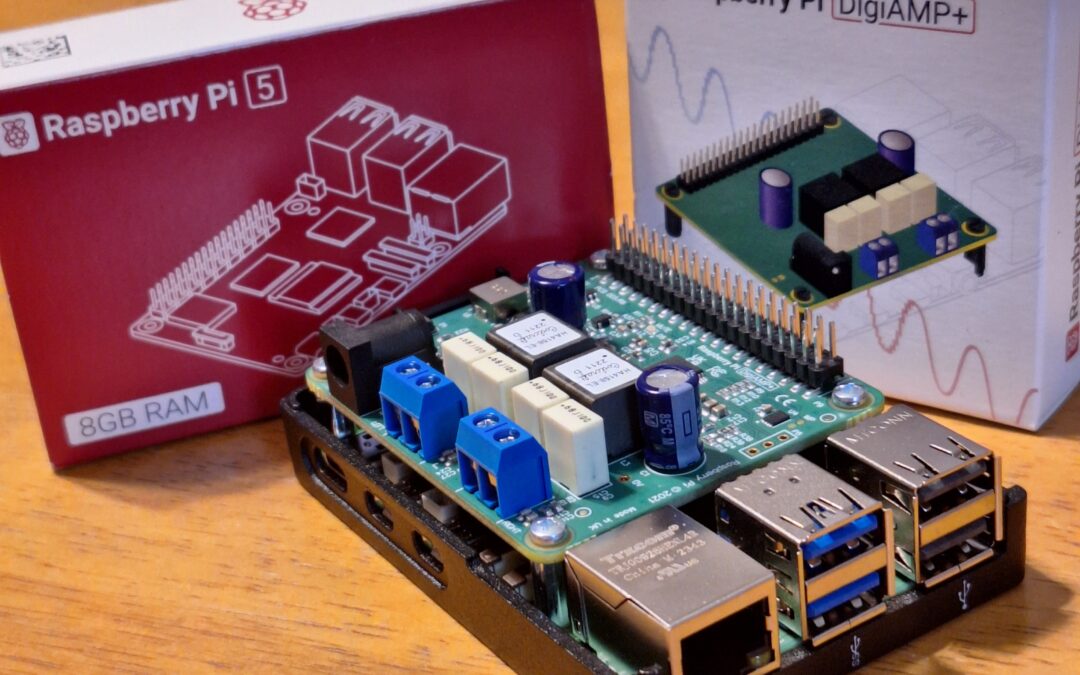
I received the AMP in the mail yesterday and got to install it tonight. The AMP for the audio is a separate piece called a HAT (hardware attached on top). On the above image you can see it attached to the top of the Raspberry Pi (rPi) Pictured below is the rPi without...
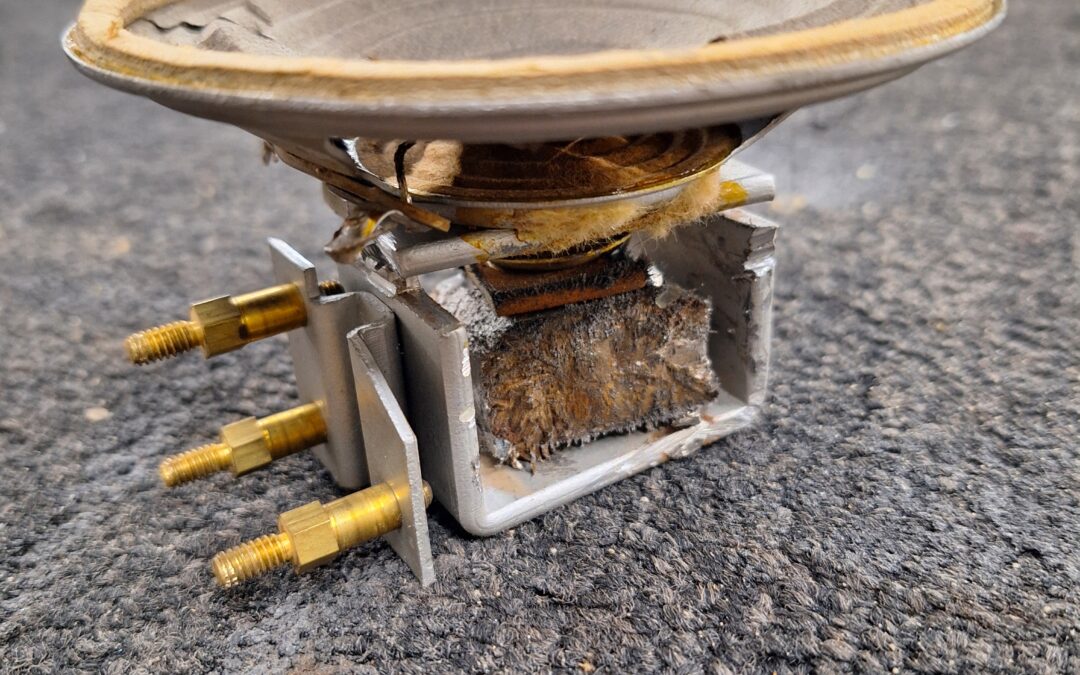
The speaker was tacked welded into that “C” piece which was then tacked to the 3 posts piece. I used a air hand grinder to break all the weld points to separate everything. I wanted to keep those three posts for I could somehow affix the new speaker to...
I believe I’m at the point where I can see how much space I will have available to place the computer and audio amplifier. It appears like just enough space to make things work. I received the Raspberri Pi (computer) yesterday and haven’t got to place in...
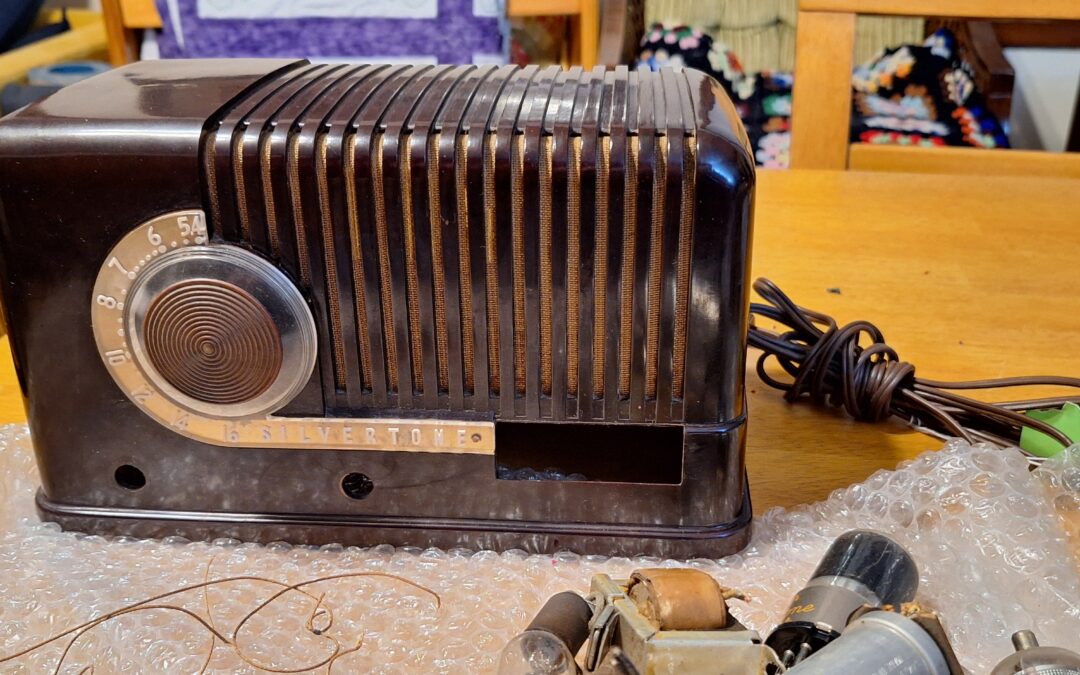
After clipping what felt like a hundred wires and soldering points I got the bottom mostly cleaned. Above is a photo of the wiring before I started. The image on the right is halfway through pulling the tubes out. Those metal towers are riveted in along with a few...
There is A LOT going on inside this radio. I didn’t know what to expect upon opening. The birds-eye photo we can see a bunch of tubes plugged in with various other things like the speaker, a lightbulb, broken strings (in the bottom photo) that used to activate...
This is a project to make this old radio alive again. The idea is to replace the old parts with a modern computer inside that will play old music, radio shows and commercials. Ideally I want to use the orginal power dial to turn everything on. Once powered on...