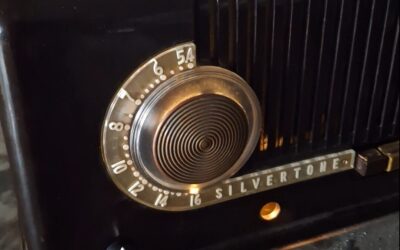
Finally complete! 🙂
FINALLY got everything working together. Getting the volume knob and skip button to BOTH work on startup took too many hours. So what made it work you ask? I HAVE NO IDEA! It just did one day and I went with it! 🙂
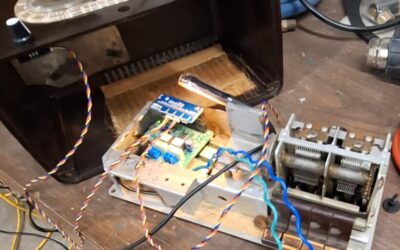
Putting it all together!
I BARELY had enough space to get everything inside. I had to use a cutting wheel to cut a whole lot of the radios chassis. After cutting and cutting I finally got everything to fit. I used super glued velcro to hold several items into place. Zip ties for other...

Python Coding (volume now working!)
After five hours of coding I finally got the volume knob to work! This was definitely the biggest hurdle for this project, at least I hope so. Thank you to those who run the AI over at https://www.blackbox.ai/ that assisted me in learning and writing Python code....

Python Coding (not functioning)
The coding part isn't the most fun, but whenever I can get it working it will pay off! I've spent at least 4 HOURS trying to get one volume knob to work and it hasn't yet. Though, tonight I did get one step closer. Eventually it will work! Between the last post and...
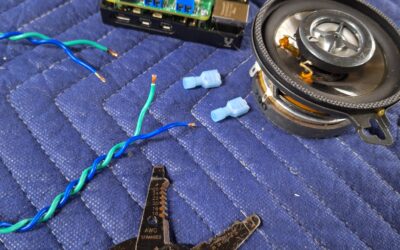
Ready to hook up and test audio!
I didn't have the exact connectors but was too excited to care! So, I hooked these up and got a lot of static. Took me a few minutes before I realized the green and blue wire are supposed to go into the single blue housing and not split up as in the photo. Once I...

The rPi is alive!
We got power and access! Though, I didn't have a power cable to power the AMP. So, temporarily I had to remove the AMP for I could plug power into the rPi. I wanted to get a head start on what I'm getting into software-wise while waiting for the correct power block...

AMP Installation
I received the AMP in the mail yesterday and got to install it tonight. The AMP for the audio is a separate piece called a HAT (hardware attached on top). On the above image you can see it attached to the top of the Raspberry Pi (rPi) Pictured below is the rPi without...

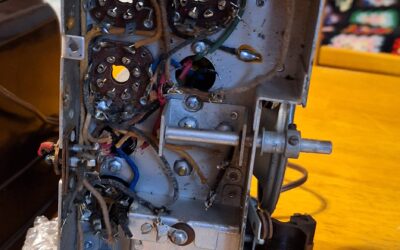
Speaker Removal
The speaker was tacked welded into that "C" piece which was then tacked to the 3 posts piece. I used a air hand grinder to break all the weld points to separate everything. I wanted to keep those three posts for I could somehow affix the new speaker to that part. I...

Bare bones
I believe I'm at the point where I can see how much space I will have available to place the computer and audio amplifier. It appears like just enough space to make things work. I received the Raspberri Pi (computer) yesterday and haven't got to place in inside to see...
Cleaning up the asinine internal soldering by simply removing it all!
After clipping what felt like a hundred wires and soldering points I got the bottom mostly cleaned. Above is a photo of the wiring before I started. The image on the right is halfway through pulling the tubes out. Those metal towers are riveted in along with a few...